


This is a step-by-step guide to building your first deep learning model.
Let's get started:
Building the model is essential, but it's just the beginning.
I want to give you everything you need to understand what's going on:
• A way to make changes
• A way to experiment
• A way to keep track of everything you did
We are going to use a neat tool for that.
We are going to use @Cometml to keep track of our experiments.
Create a free account here: comet.com/signup?utm_source=svpino&utm_medium=referral&utm_campaign=online_partner_svpino_2022
You can also connect your GitHub account. The process will take 10 seconds.
To write the model, I will use Google Colab, which is also free.
You can open it here: colab.research.google.com/.
Create a new notebook, and let's get started.
I'll share my notebook with my code at the end of this post.
We will start by installing @Cometml, initializing it, and defining what I want from my experiments.
You'll need your API Key from your account under settings.
This is all we need for @Cometml to do its magic. You'll see it at the end of this post.
Right after that, we'll import every module we need.
This is boring but necessary.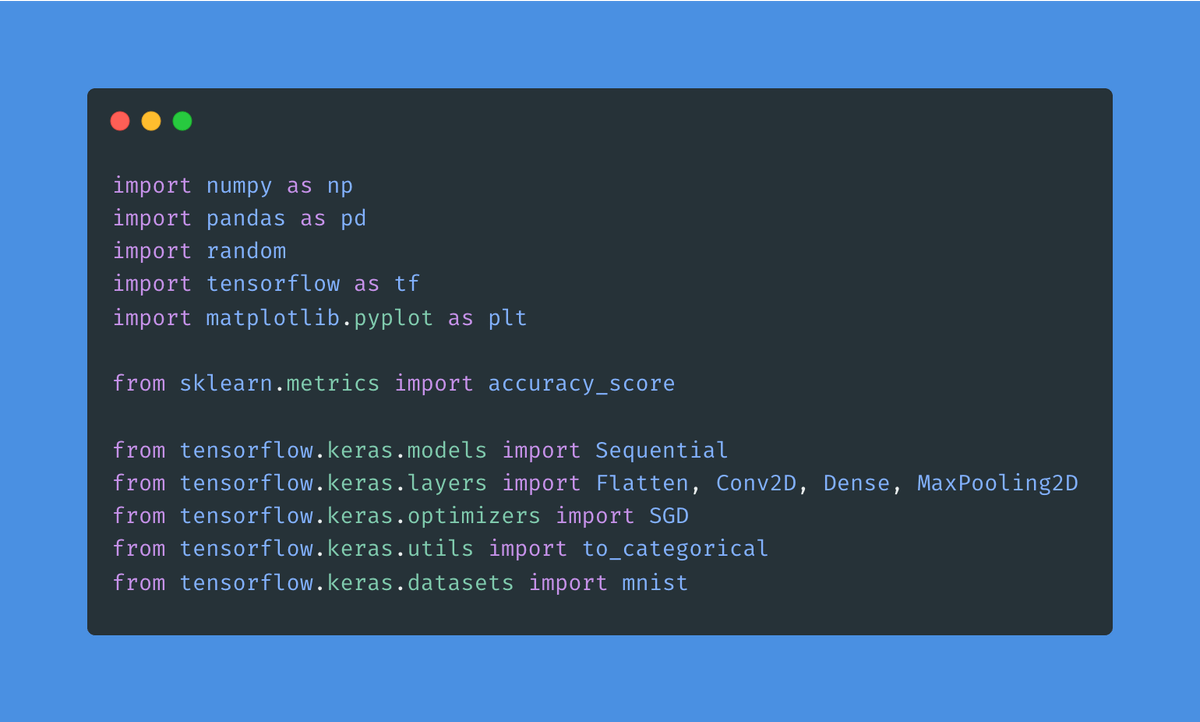
We will use the MNIST dataset to build this model.
Our goal:
Given an image we haven't seen before, the model should determine the handwritten digit it shows.
The attached line loads the data into a train and test set.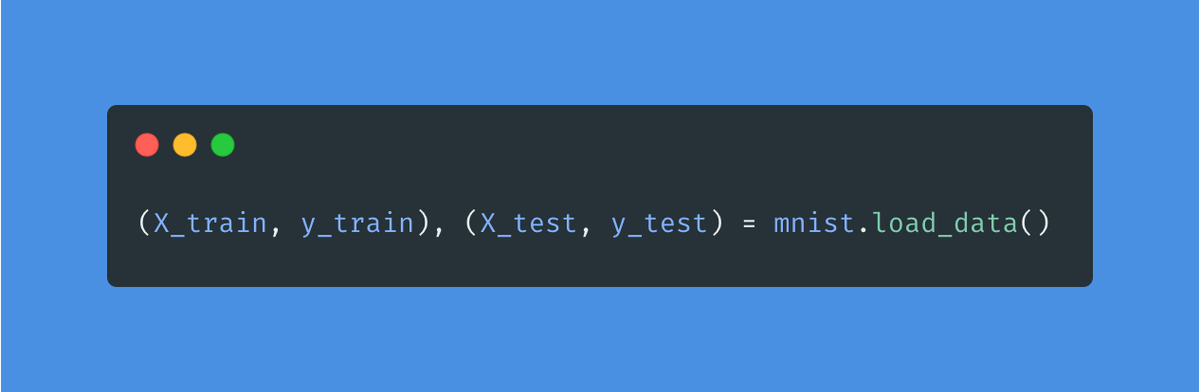
Instead of working with pixel values from 0 to 255, we will scale them to fit between 0 and 1.
Models are much happier when we scale the data we feed them.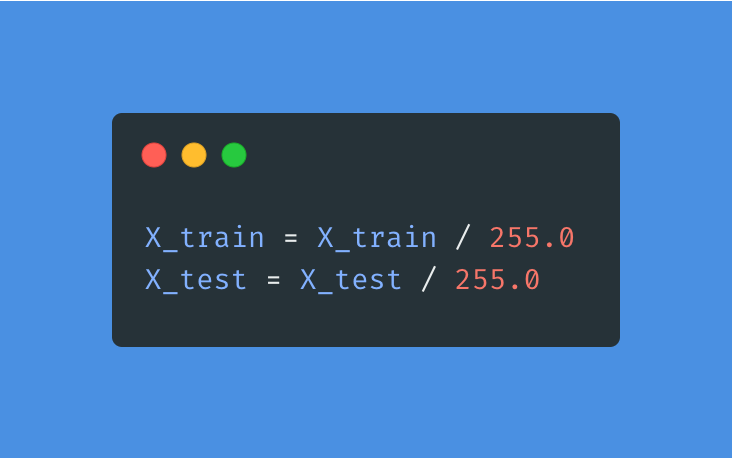
It's nice to see what we've done so far.
Here are a few of the handwritten digits.
I wrote some code to display them. You'll find it in my notebook at the end of this thread.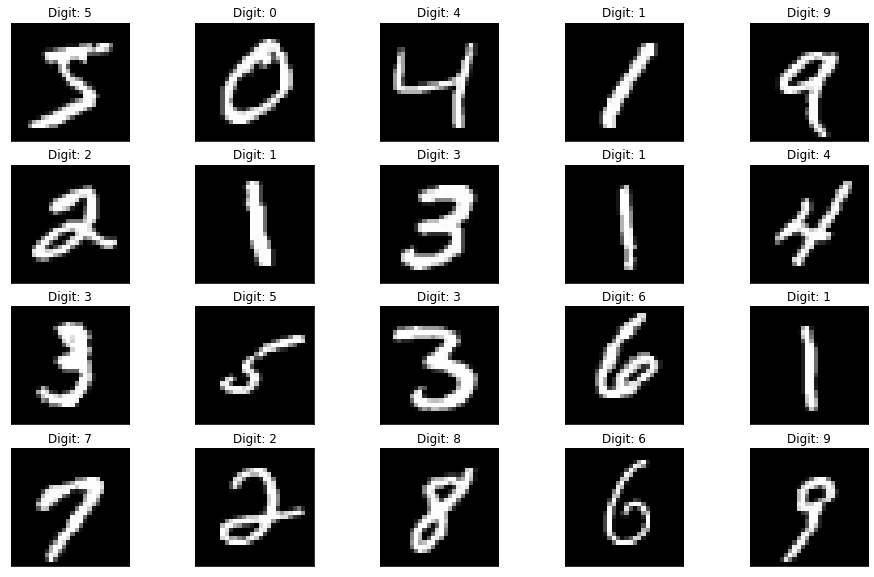
One more thing before we are done with the images:
These digits are grayscale, so they only use one channel for their color.
Unfortunately, the shape of the data needs an extra dimension to represent colors (even though there's no color.)
Let's do that.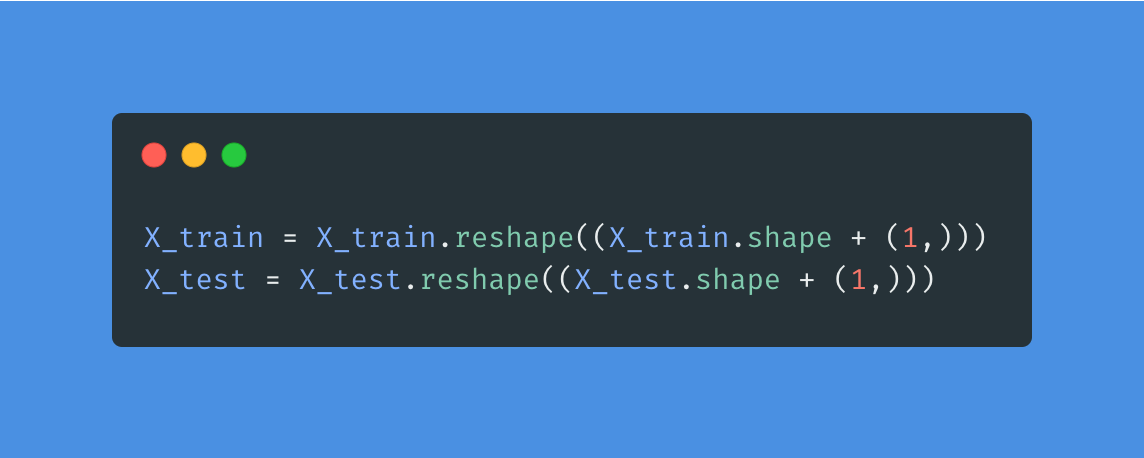
Time for the high-level structure of the model:
1. Input. 28x28
2. A Conv2D layer using ReLU
3. A MaxPooling layer
4. A fully-connected layer using ReLU
5. An output layer using softmax
You will find a complete explanation of each decision in the notebook at the end.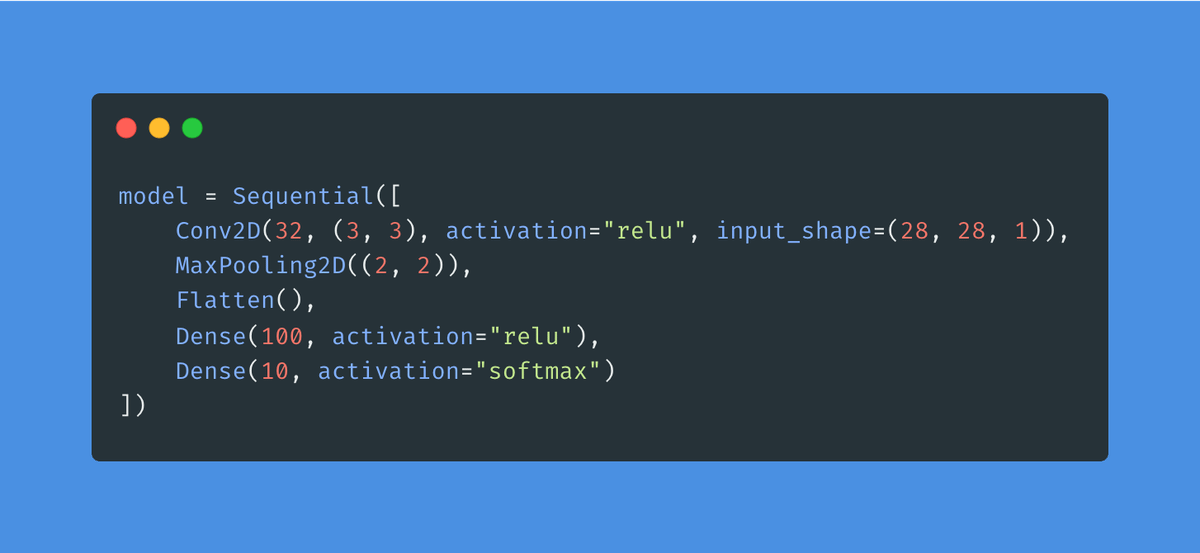
Now that we have a model, let's define how we want to train it:
1. Stochastic Gradient Decent optimizer
2. Learning rate = 0.01 with 0.9 momentum
3. Sparse Categorical Cross-Entropy as the loss
4. We will track accuracy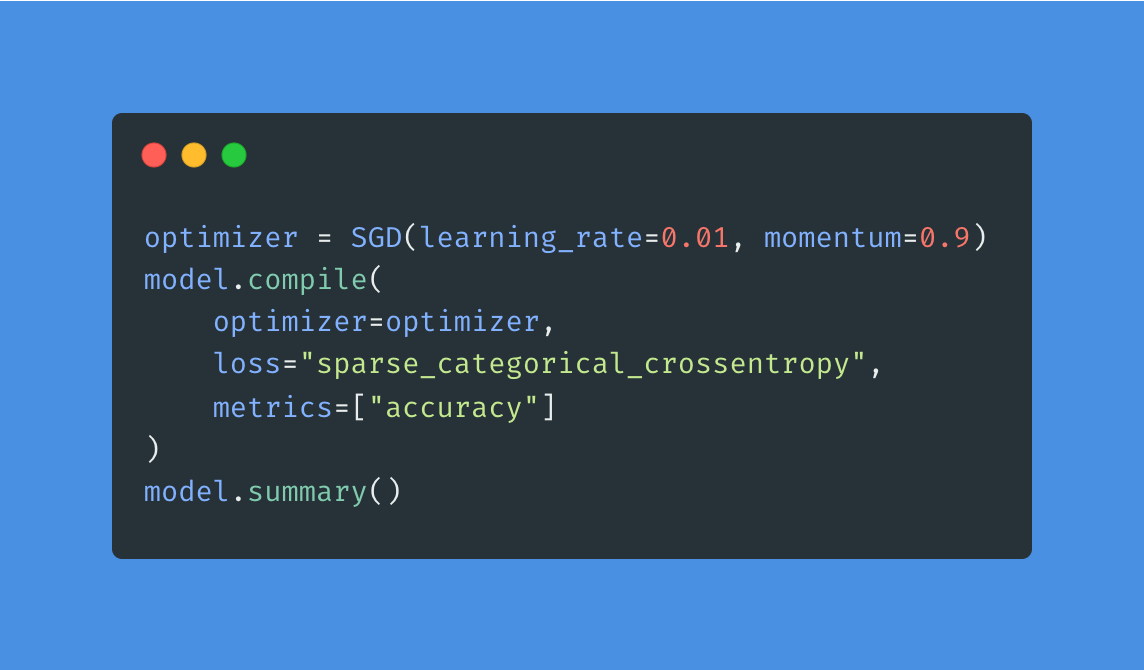
Here is what the summary of the model looks like:
You can see the layers, their output shape, and their number of learnable parameters.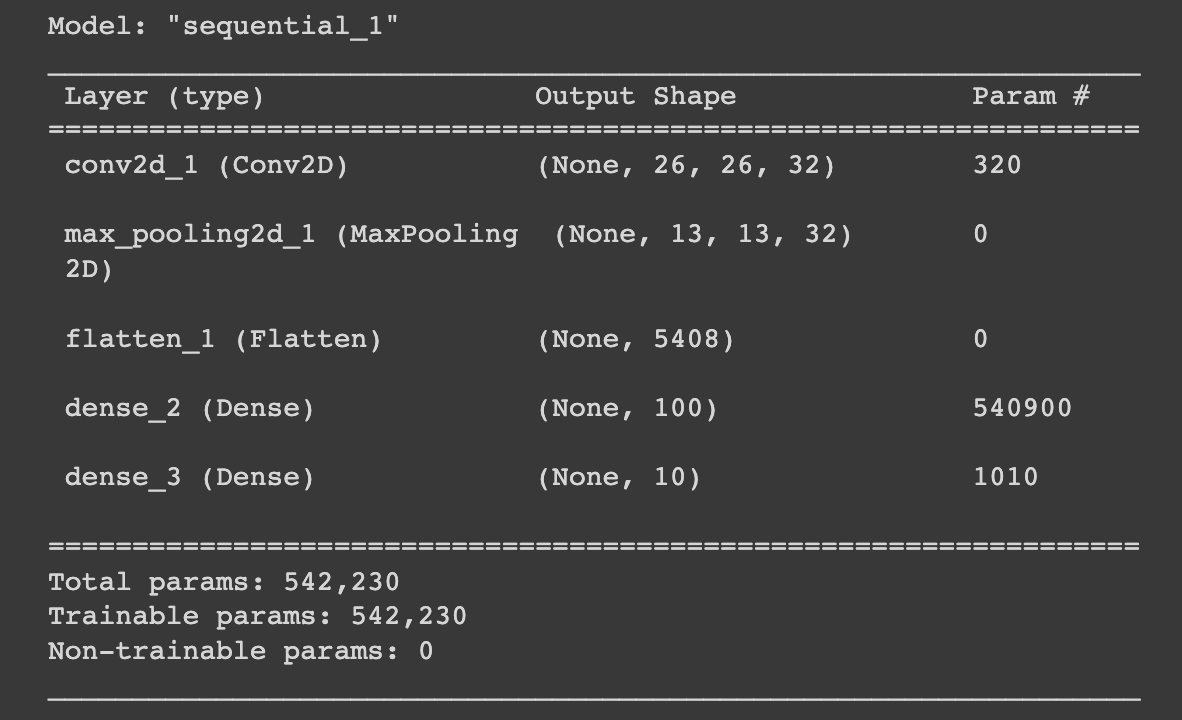
Let's train the model.
This example is simple. Even without access to a GPU, it will train fast.
But if you are using Colab, you will be fine.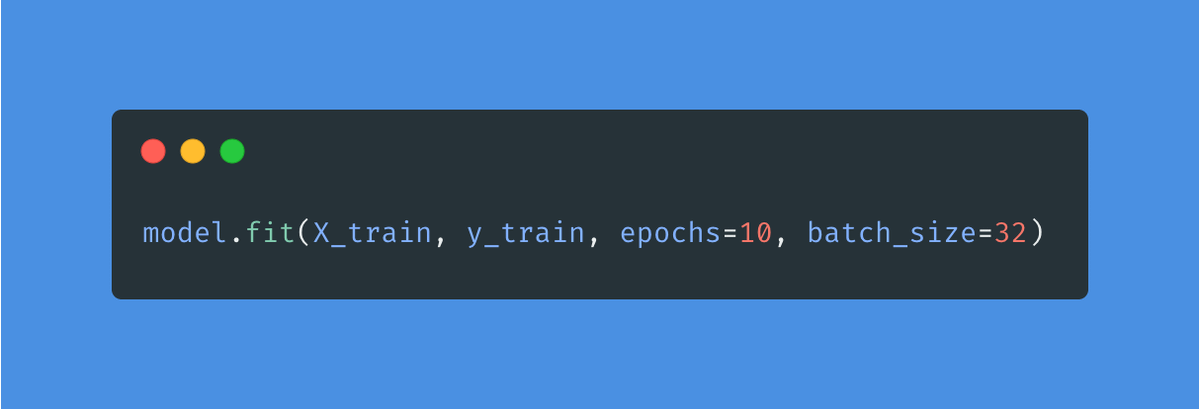
At this point, you should have a model that scored above 99% accuracy on the train set.
This is cool, but maybe our model is cheating and memorizing all of the images.
Let's make sure everything is working correctly.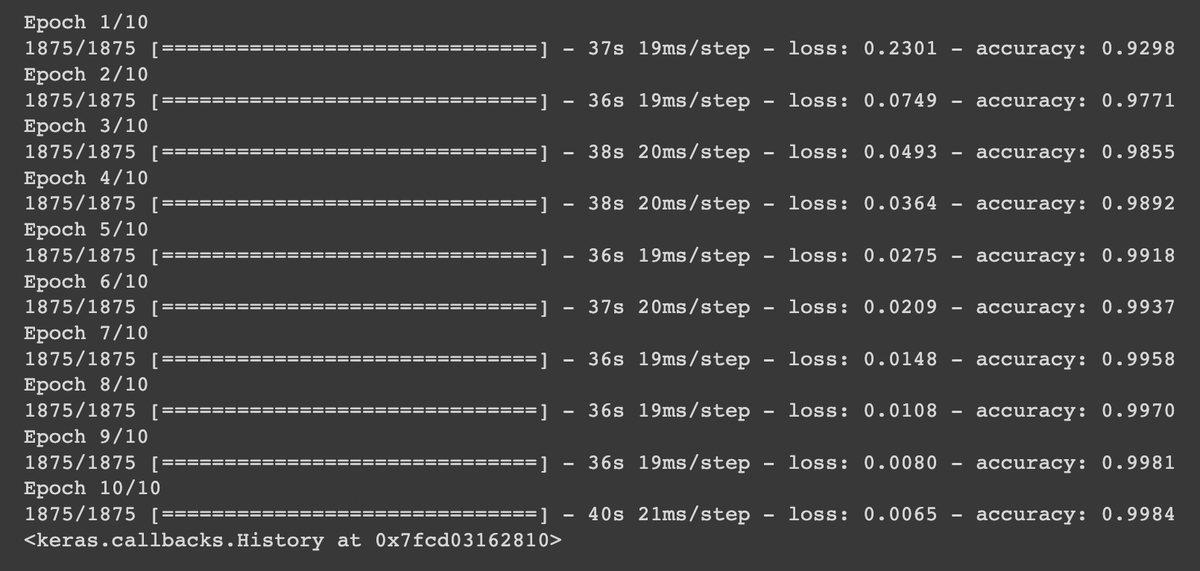
Let's show the model images that it hasn't seen before.
Let's use the test set.
I ran 10,000 images from the test set through the model. Its accuracy was 0.9849.
I'd say this is pretty good.
The last line on the attached picture logs the confusion matrix on @Cometml.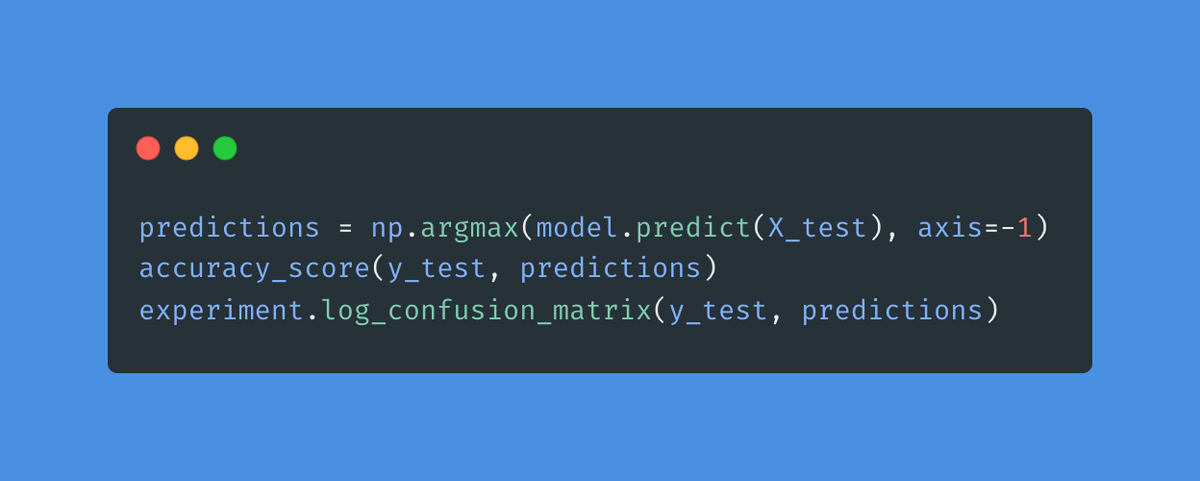
Now go to your @Cometml account and click on "Uncategorized Experiments."
Every time you run your notebook, you'll get a new experiment.
Here are some of the things that @Cometml tracks for you:
Logging experiments is critical.
Every time you make a change, you'll get a new experiment.
You can now compare and roll back to a different version. You can do a complete analysis of any past experiment.
Everything is there for you.
So, what's next?
First, let me share the code with a complete explanation of everything I did:
colab.research.google.com/drive/1eY1oBKaknSTwdCesLLozwXepFGO_gTUn?usp=sharing
Duplicate this notebook so you can make changes.
Your homework:
Make sure you understand every line of code and decision I made.
Best way to learn:
Make small changes, look at the results, and compare them with your previous experiments.
Every week, I break down machine learning concepts to give you ideas on applying them in real-life situations.
Follow me @svpino to ensure you don't miss what's coming next.