🔷 5 Things You Need To Know About <input> Tag
A Thread🧵 👇
1️⃣ Focus
→ The :focus selector comes into action when we click the input element and we can type content in the input field.
→ Suppose we don't have a border in our <input> tag, we can implement this using: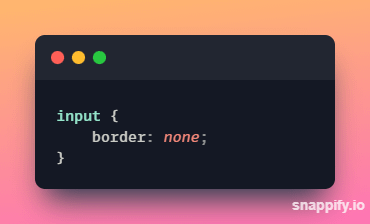
→ But, when we begin to type content in our input label, we get those borders back again.
→ So, a simple solution to this problem will be: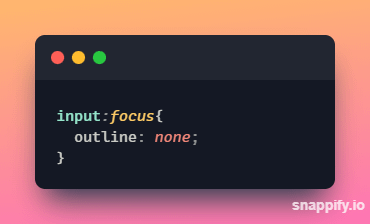
2️⃣ Autocomplete
→ Autocomplete helps us to complete input fields, but sometimes it becomes irritating and suggests wrong details.
→ A method to turn off autocomplete would be: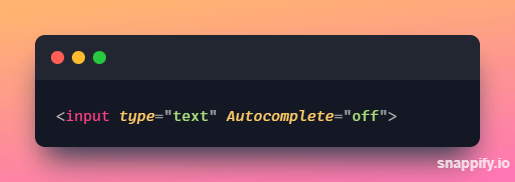
3️⃣ File input
→ Sometimes, text content is not what we want to send, it might be images, gifs, videos, etc.
→ We can send this type of data using the type="file" attribute.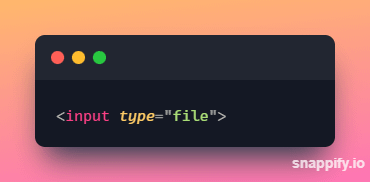
→ Usually, we use e.target.value to access the input value, but here we can access the file data using e.target.files[0].
→ It contains the details of the file like its name, path, etc in form of an object.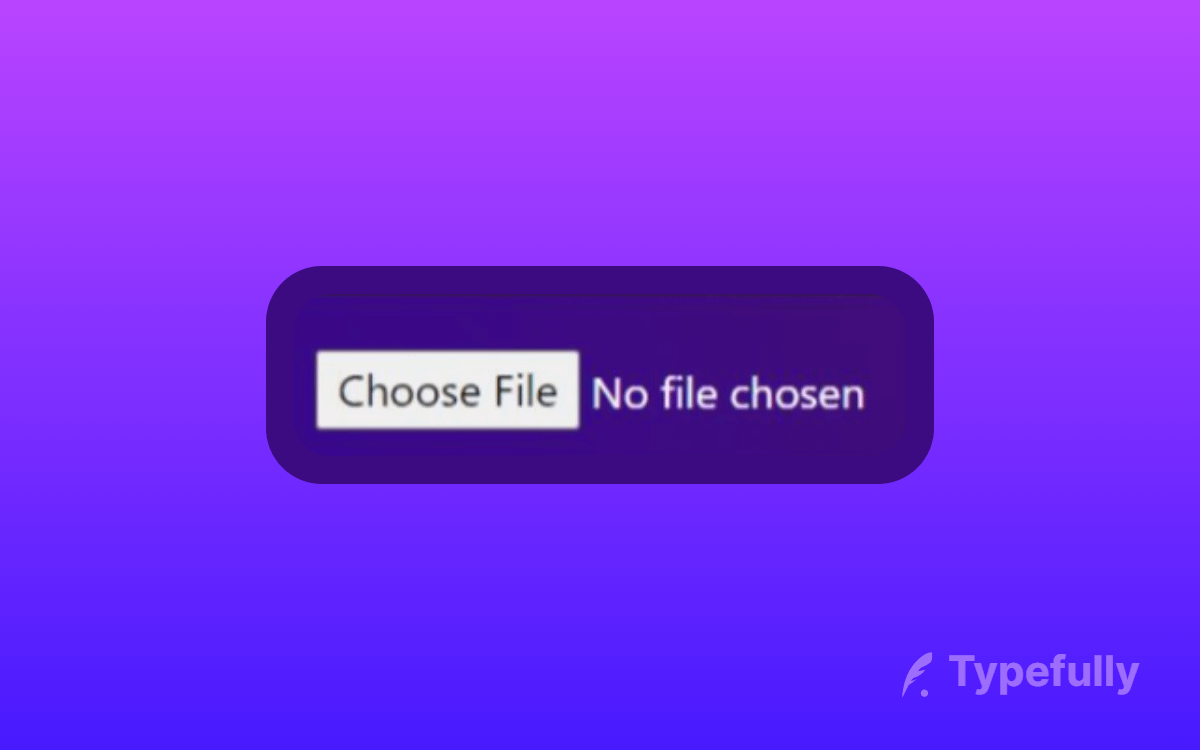
→ The 'no file chosen" text is black by default, you can change this to any color using input[type="file].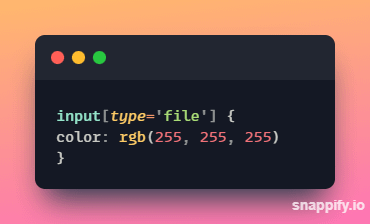
4️⃣ Autofocus
→ The input autofocus attribute specifies that an input field should automatically get focus when the page loads.
⛔ Example: While editing/making blogs, when we land on the edit blog page, we would want the input to be in focus.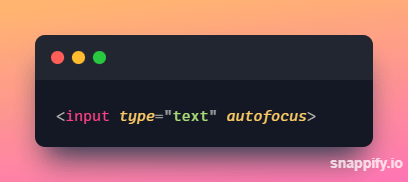
5️⃣ Input list attribute
→ Want the user to choose from a specific list of options?
→ We can use the list attribute. Let's look at an example: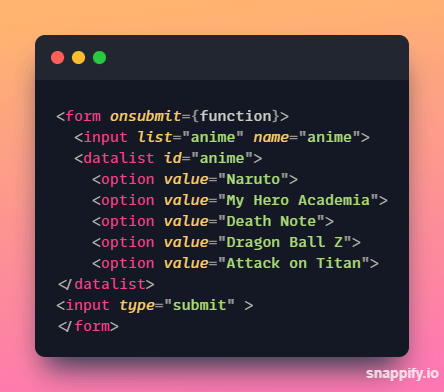
Thanks for reading this thread ❤️
If you like it , make sure you:
🔷 Like the tweet
🔷 Retweet the first tweet ⚡
For more content , follow:
@MrunayU

Mrunay Uttarwar
@MrunayU
🌐 Front End Dev 💻 Transitioning into Web3 🚀 Content Creator 📝 Always learning and sharing my journey 💻 Let's connect and geek out!