
Want to add some personality to your 3D models in #blender?
#b3d
Try adding some decals.
Decals are an easy way to add logos and graphics. Here's how to do it:
First, make sure that you have the "Import Images as Planes" add-on activated.
You don't have to download anything; it is integrated into Blender.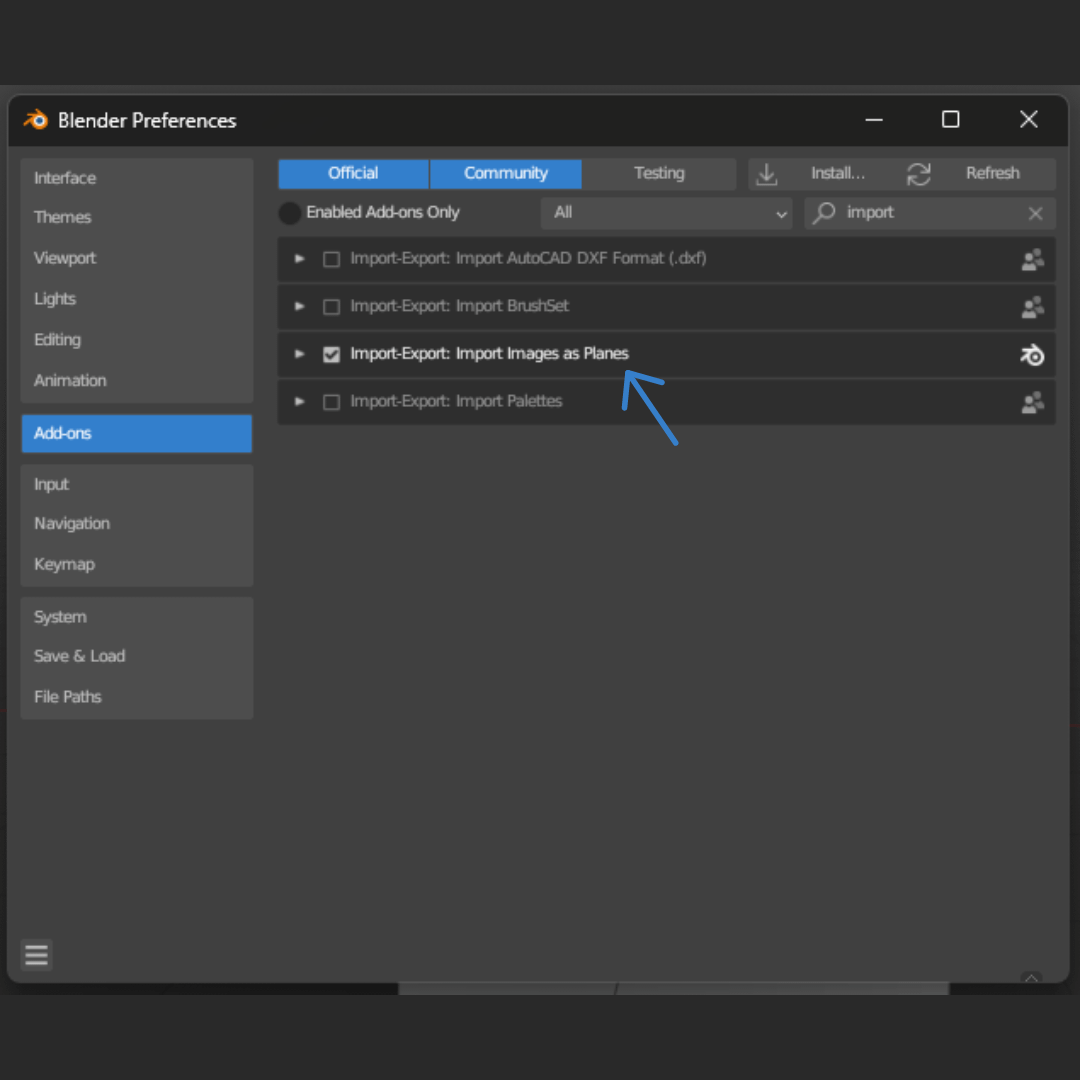
Now, when you press Shift + A, you will have a new option: "Image as Planes".
Click on it and look for your image on your computer.
Now you can move your image to be on top of your object.
But I'm sure yours looks a bit different. Don't panic, we are going to address those problems.
If you are able to see your image background, you can use this node setup to hide it and also add texture to your decal using a Displacement node.
And that's how you add a decal on a flat surface! Let's make it a bit more complex.
If you want to make your decal go around an object, you have to add two modifiers:
- Subdivision Surface: Set it to 6 and Simple.
- Shrinkwrap: Change the Snap Mode to "Outside Surface", select your target object, and increase the offset a little bit.
In some cases, it may look good, but here we can see that the decal is stretched. Let's see how to solve this issue.
You are going to need to apply both modifiers that you added before.
With your decal selected, go to the UV Editing tab.
Press U and select Unwrap.
In the UV Editor, rotate the UV Map to adjust the decal orientation and scale it up a little bit.
And this is the end result.
I hope that this is useful.
Have a good day!
This tutorial is more of an intermediate level, so you'll need a basic understanding of Blender to follow along. If you have any questions, let me know!